Hey guys! It’s been what, around 4-5 months since the start of the autumn semester of 2020-21 session? And it’s been quite a while since we are using the MyClass platform for our classes (few months for 3rd-year students, right?). 5 months and still, we are not familiar with many features. To be honest, me neither. But I did some research and discovered many amazing features that can help us a lot. It is possible that you already know all or some of these tricks but most of us are unaware. So, in this article, you will get to know those awesome features too. There can be other tips & tricks than those mentioned here, so if you know any such do share with everyone.
So, let’s start!
Switching to ‘Microphone’ mode from ‘Audio Only’ mode.
It’s very common that either we accidentally select ‘audio only’ mode or maybe deliberately, but sometimes it automatically connects with this mode. And then the teacher asks you a question, but you can’t turn on your mic. So, the teacher asks you to logout and re-login to the class. You might miss some key points or a poll because of it. Here’s a solution to that. You don’t need to logout. You can switch to the ‘microphone’ mode while staying in the class. Yes! You read that right. Here are the steps:
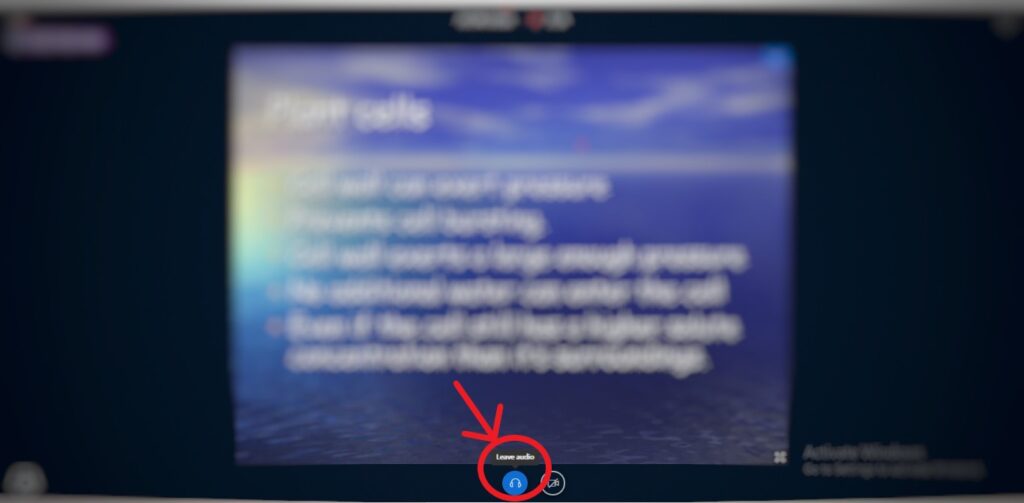
A. Move your cursor to the blue headphone icon located at the bottom of the MyClass window. You will see ‘Leave Audio’ written over there when you place your cursor on it. Click on it.
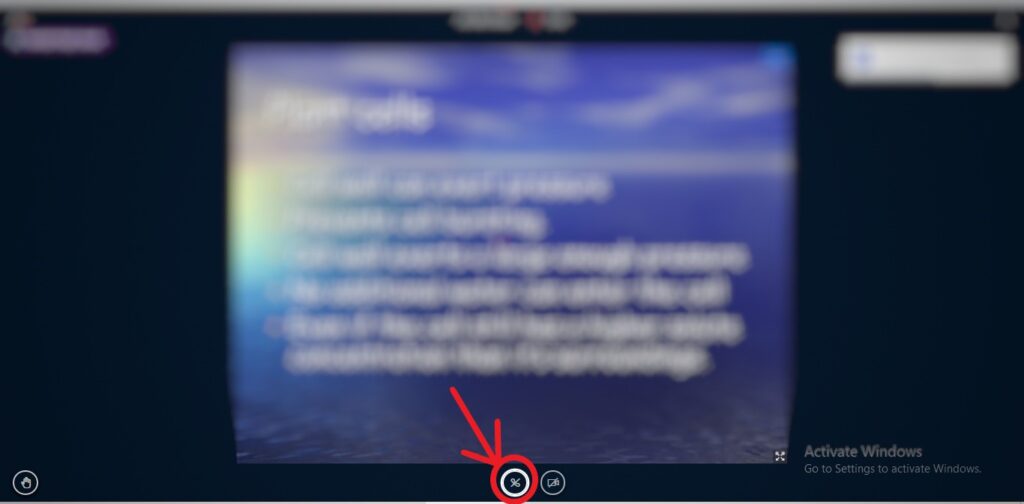
B. You will be disconnected from the audio. Now a different colorless icon will appear in place of the blue headphone. Click on it.
C. A dialogue box will appear asking whether you wish to join via ‘Microphone’ or ‘Audio Only’ (the same dialogue box that appears when you log in to the class).
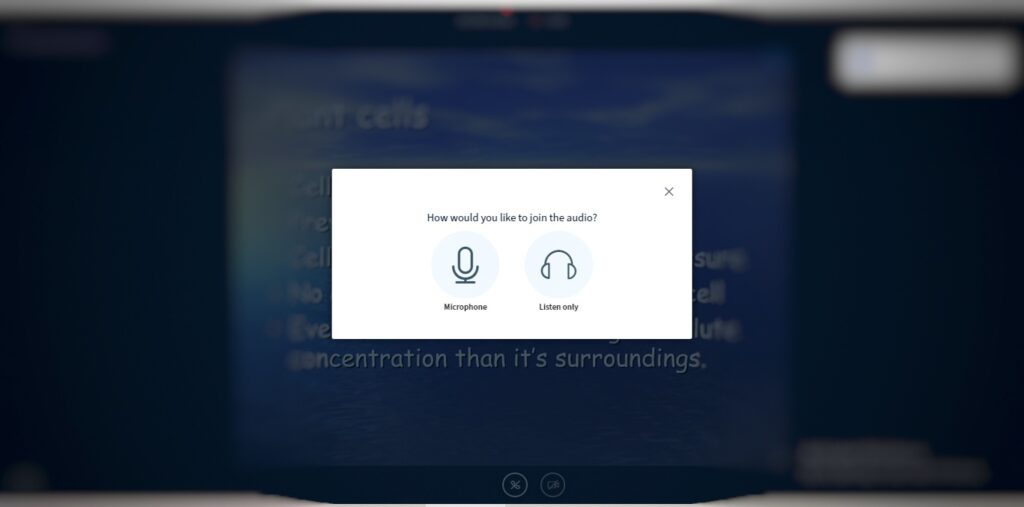
D. Click on ‘Microphone’ and that’s it! You are now connected via the microphone and you didn’t have to leave the class at all.
Want to save some data? Here’s how.
Many of us connect to the class through our regular data pack, 1.5GB/day, or 2GB/day. Just like me. Reason can be any, might be that you live in a rural area and there is no private firm based broadband facility available (and well we know about government broadband connections). Again, just like me. So, you can save up some data by turning off the streaming video of your teacher’s webcam. Do this only if your teacher is not teaching through whiteboard but PPT. Here are the steps:
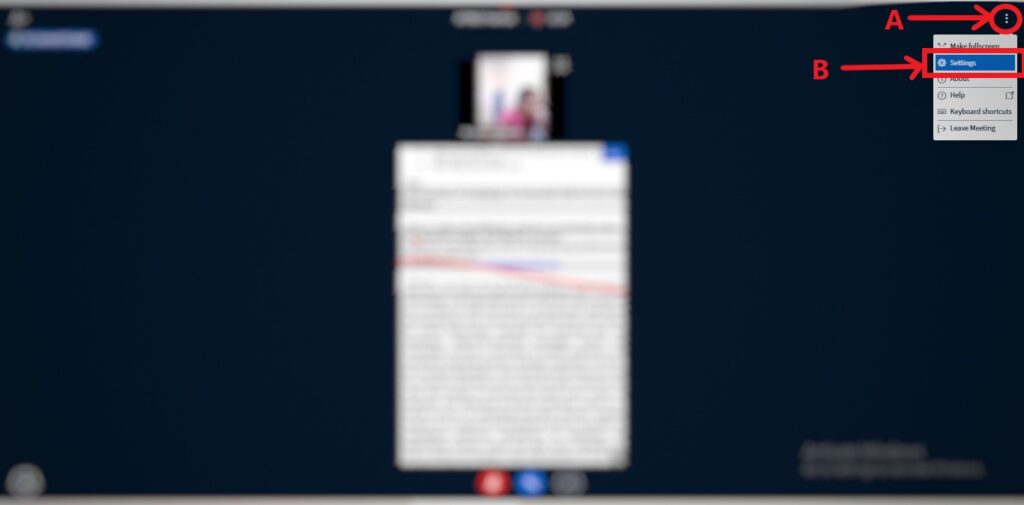
A. Go to the ‘Options’ menu (the three dots) on the top right corner of the MyClass window.
B. From there, go to Settings > Data Savings.
C. Turn off the ‘Enable Webcam’ option to turn off the camera video of the faculty from your end.
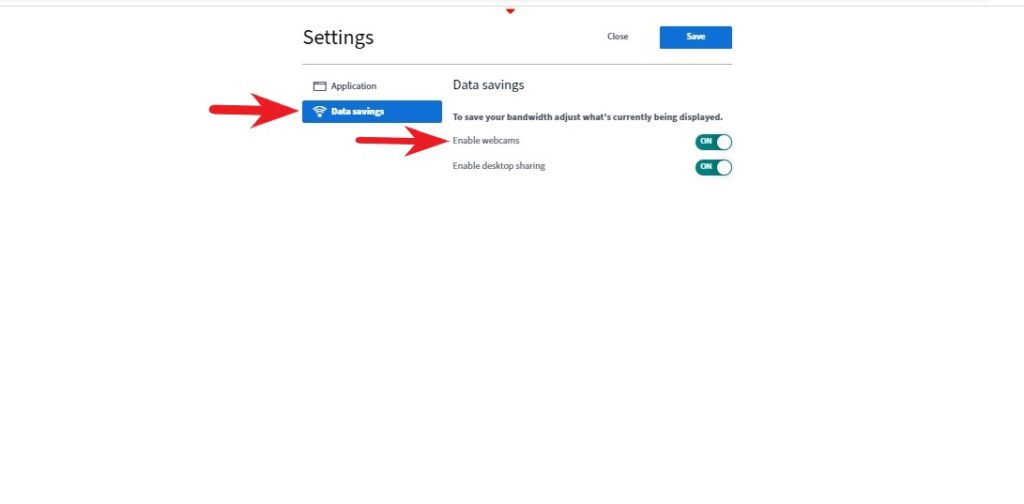
D. Click on the ‘Save’ button present above the ‘Enable Webcam’ option.
You can watch the recording of the lectures.
You must have seen the red recording icon with a timer on the top of the e-class window. So, where does the recording is saved? Many of you already know as this was mentioned in the ‘guidelines pdf’ too. If not, here are the steps to access the recording of the lectures (if recorded by the teacher):
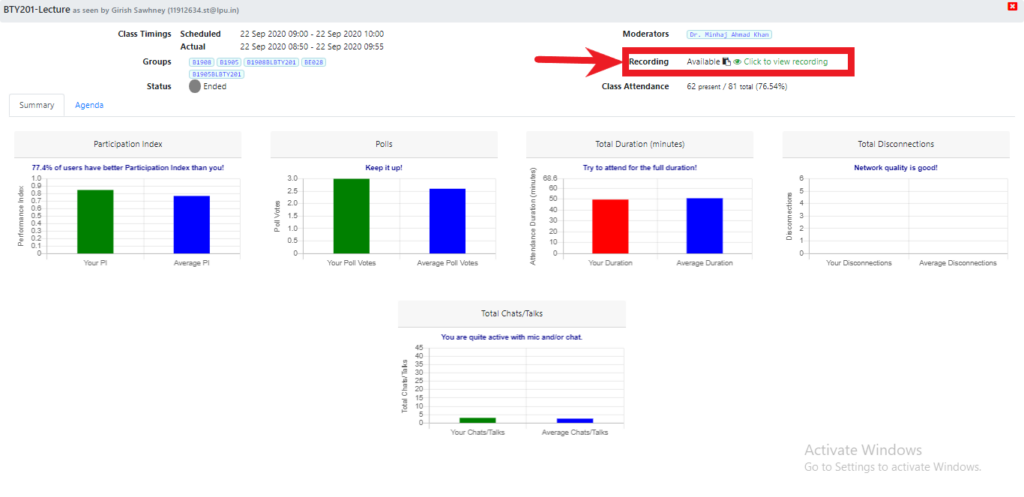
- Select the date from the calendar present on the Home Screen of the classes window on MyClass, for which you want to see the recording.
- Select the lecture from the list of lectures you had for the selected date.
- Now a window will open showing you the various analytics for that class. There you can see the ‘Recording’ tab and click on ‘Click to view recoding’ to view the recorded lecture.
Easily jump to any slide within the recording.
There can be a juncture when you don’t wish to see the entire recording, but the recording for a particular topic. Normally what we will do? We will keep forwarding the recording from the progress bar/ seek bar/ track slider until we find the particular slide. What if I told you that you can directly jump to the slide/ topic of your interest? Yes, it is possible.
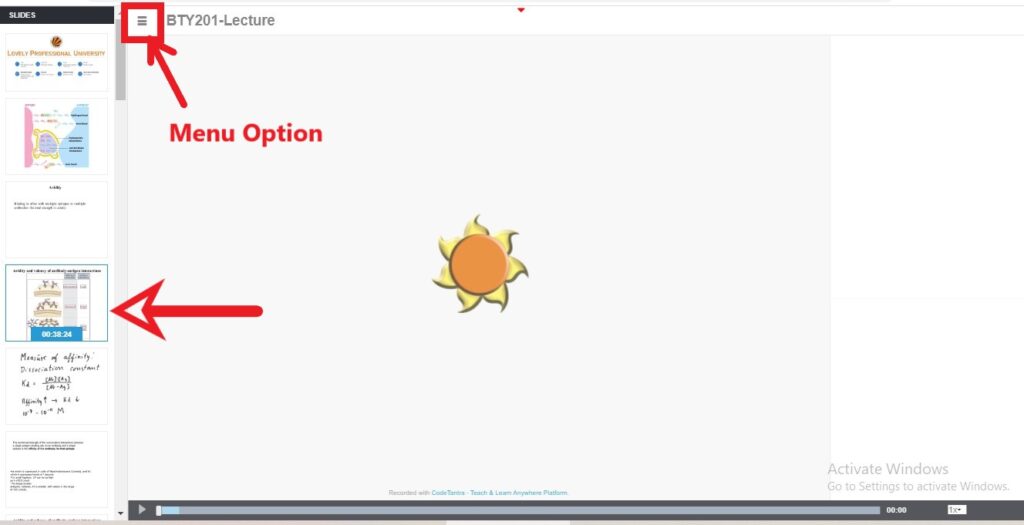
It is easy. You just need to click on the menu icon (the three lines) present on the top left of the recording window. You will see that a narrow tab appeared on the left side, where a number of slides are present. If you move your cursor on them you will see the time at which these have been taught. Click on the slide you wish to see, and you will be jumped to the part of the video when that slide was started.
Other features in the recording window:
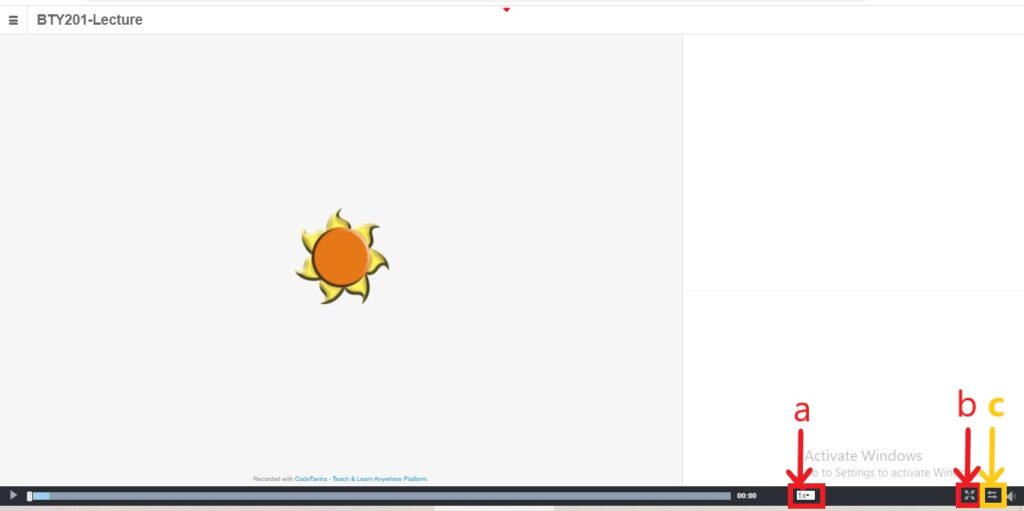
- You can change the playback speed of the video from 0.5X to 3X.
- You can download the recording. The option is visible in the full-screen mode only.
- You can switch the position of the slide and the video of the mentor, thus the size too.
These all were the features I am aware of and discovered with a little research. Hope this will be helpful. Happy studying!

